

Foreword:
Almost 2.5 months passed from the moment the windshield was replaced until the final completion of this work and the inclusion of heating. During this time, many additions and corrections were made to the article. Such a dog time is associated with a long and tedious search for all the necessary, and, if possible, original spare parts and the lack of free time for installation work. Taking into account all the expenses, installing a windshield with heating cost almost 13 thousand, which is not cheap for a Niva-class car. Therefore, if you also want such a glass — get ready to fork out
💸💸💸💸💸💸💸💸💸💸💸💸💸
Greetings, dear readers and guests of the logbook of my shnivy😎
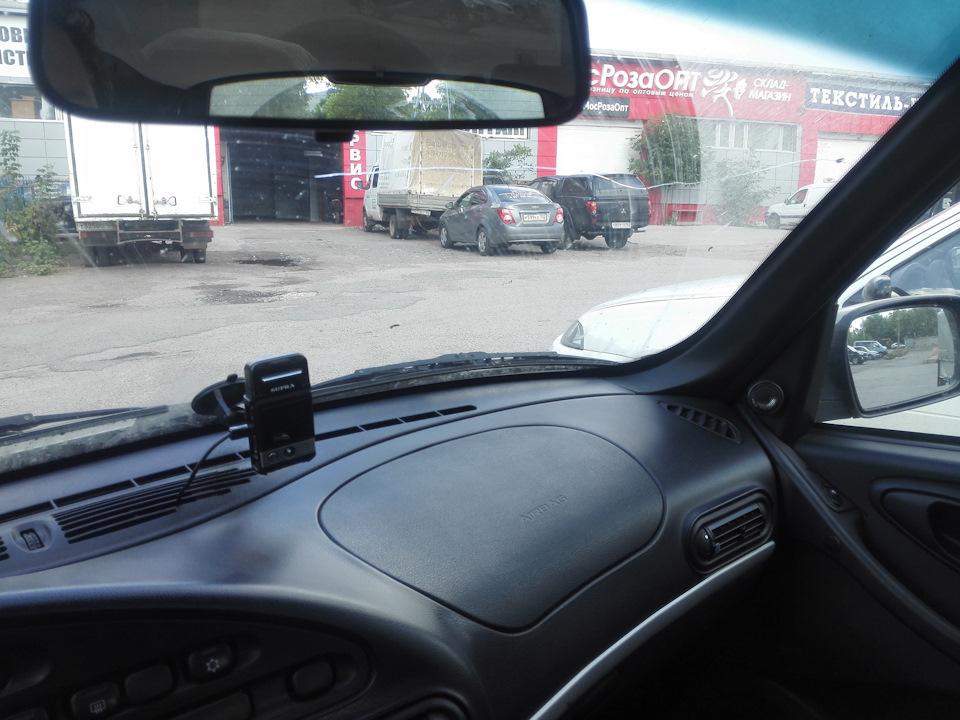
For a very long time I did not write anything about shnivy, and now there is finally a reason😁 Despite the fact that the cornfield is now being operated as a second car, the idea of replacing the windshield has long been visited. The stones on the track do their dirty work, and some chips on the glass turned into long cracks. On the right side, for example, they put a “dot” 7 times, but still the crack reached the middle:
When I first thought about replacing the glass, I decided that I would put the heated, from the latest luxury shnivy. True, the price of 10300 rubles with installation and the toad strangled for a long time😂, but while there was money, I decided that I had to take😎
I began to study this issue, read a similar topic in the logbook driver Nivan797 and another topic driver micha58 . I also wanted to say a special thank you to the draychanin zavod-garage for useful tips on this topic🍻
At a shniva forum, a representative of the F3B factory painted what is included in the set of heated glass:
21230-5206016-17-0 Windshield with heating, toner.
21230-3710030-00-0 I / O heating switch
21700-3763050-00-0 Relay timer
21230-3747210-21-0 Relay 50A
21230-3722150-00-0 Fuse 50A (red)
In addition, the Bor glass has 2 power contacts, and the KMK glass has 3 contacts, for heating the right and left half of the glass, respectively, the connection diagrams of these glasses to the car’s vehicle network will be different. In the end, I decided to take the factory glass Bor, which goes to the conveyor for luxury shnivy.
He made an advance payment of 1000 rubles and after 2 days the glass came. In Ufa, we have two representatives of the Bor plant, I changed it to BorAvtoSteklo. All the replacement work took about 15 minutes, then a couple of hours I waited for the glue to harden. The glass already comes with a bracket for the mirror, it did not have to be re-glued. But on the bracket of the on-board computer Prestige v55 CAN installed on my computer, I had to rip off the old tape. Strips of 3M adhesive tape, which has remained since the repair of the Chevrolet logo on the bumper, took its place:

Just in case, I compared the inscriptions on the old and new glasses — they are exactly the same, except for the figures of the year the glass was produced:


Описание
Ветровое стекло с обогревом для ВАЗ 2123 "Chevrolet Niva".
Назначение:
Стекло ветровое с подогревом устанавливается на автомобили Chevrolet Niva.
В зависимости от температуры воздуха, наледь со стекла снимается дворниками через 2-5 мин.
Комплект поставки:
Стекло ветровое с подогревом
Управляющее реле.
Ехал я однажды на Шевроле Нива сзади грузовика, груженого гравием, за что и поплатился – попал на лобовое стекло камешек и образовалась внушительная трещина. Со временем трещина стала такой большой, что стекло отремонтировать стало уже невозможно, драгоценное время упущено, поэтому буду производить замену.

Раз уж стекло взялся менять, нужно и подогрев установить. Просто однажды ливень шел осенью, при этом он сразу же накрывал поверхность корочкой льда, вот там бы подогреватель реально помог. Заказал стекло с подогревом, у которого есть блок управления, привезли мне его уже на следующий день, заплатил примерно 6 тысяч рублей (обычное стоит полторы тысячи).

Стекло установил в тот же день, а вот блок управления поставить сразу не удалось. Но как только ударили заморозки, я сразу же взялся за монтаж. Корпус блока зафиксировал на правом креплении блока предохранителей. Временно прикрепил на стяжку, потом нужно будет дырку сделать и затянуть болтом. Схему подключения нашел в интернете, на официальном сайте производителя.

Оказалось, что нужно подключиться к дополнительному реле. Сперва я не знал, который из реле является дополнительным, но что-то мне подсказывало, что это К6. А еще по схеме необходимо присоединиться к ножке реле 87. Вот только на практике это было нога номером не 87, а 30, так что на сайте, судя по всему, ошиблись. Для того, чтобы убедиться в этом я разобрал блок предохранителей, но внутри ничего понять не смог, потому что нужные мне дорожки были во втором ряду, а удалять предохранители и дорожки отделять лень. Прозвонил мультиметром, потом нужный мне контакт вывел через реле.

Что касается массы, то его я взял около зеркала. Из панели приборов прозвонили лампу генератора, ее нужно переподключить на нужный провод блока управления.
Принцип работы подогрева следующий: один раз нажимаем на кнопку, через 5 секунд происходит включение: с левой стороны стекло прогревается 5 минут, потом столько же греется правая сторона, затем подогрев выключается.