

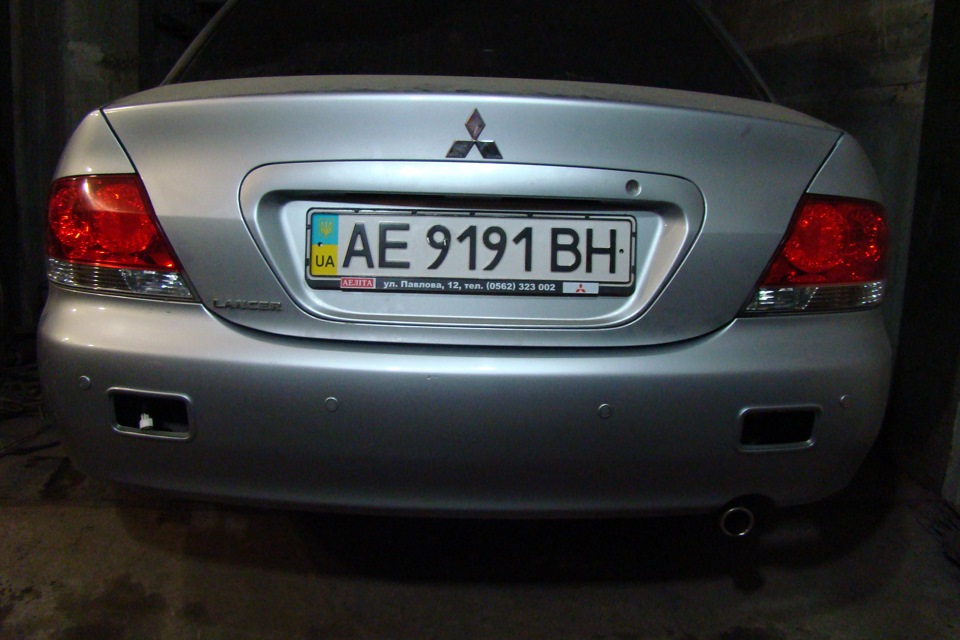
Ну вот люблю я порядок и симметрию! И нравится мне, что на Lancer IX задних противотуманных фонарей (ПТФ) два! И что, вопреки нынешней «моде», расположены они в бампере симметрично! (например, на Lancer X только один ПТФ слева, а справа – фонарь заднего хода, тоже только один…).
Но как же был я удивлён, когда узнал, что светит только левый ПТФ, а правый – неактивный… И это нормально, такая конструкция на Lancer IX. Снова какая-то экономия производителя на мелочах. Нет, понятно, что по правилам в тумане достаточно обозначить задний левый габарит автомобиля… Но, если есть второй противотуманный фонарь – значит и он должен светить. Должна быть симметрия!
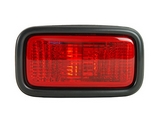
Обращаю внимание на то, что правый ПТФ на Lancer IX – это не катафот, не муляж и не обманка, как считают многие. Это полноценный ПТФ, с отражателем внутри, только с запаянным местом под патрон лампочки.
На форумах есть достаточно много сообщений по данной теме. Собрав необходимую информацию, решил подключить второй противотуманный фонарь. Естественно, для этого буду использовать только оригинальные запчасти. Вот такая жизненная позиция у меня. Люблю я порядок и симметрию…
Для реализации задуманного нужно было купить некоторые недостающие позиции. Заказал всё необходимое и через неделю получил свой заказ.
Далее был выбор… Учитывая нюансы конструкции, которые сулили определённые сложности при снятии задних ПТФ – решал, снимать бампер или не снимать? Остановился на втором – демонтировать задние ПТФ не снимая бампера. И это оказалось более простое, а соответственно правильное решение.
Приступаем к работе. Под бампером видим следующее:


Для снятия противотуманного фонаря необходимо с внутренней стороны бампера добраться до рамки его крепления. Далее откручиваем 2 винта крепления фонаря (именно этот процесс наиболее неудобен и из-за него многие демонтируют бампер) и снимаем рамку. Фонарь просто выталкиваем наружу. Аналогичную операцию производим со вторым фонарём.
После демонтажа отмываем от грязи и сушим. Потом снимаем размеры и отмечаем центр для сверления.

При сверлении использовал сверло диаметром 12 мм. Далее, до нужного диаметра доводил вручную круглым напильником. Пазы под ушки патрона формировал плоским надфилем. Главное помнить пословицу о том, сколько раз нужно отмерять перед тем, как отрезать. Цена ошибки велика. Потому, дело продвигалось не так быстро, как «Титаник» плыл в Нью-Йорк.


Well, I love order and symmetry! And I like that on the Lancer IX rear fog lamps (PTF) two! And that, contrary to the current "fashion", they are located symmetrically in the bumper! (for example, on Lancer X there is only one PTF on the left, and on the right there is a reversing lamp, also only one …).
But how was I surprised when I found out that only the left PTF is shining, and the right one is inactive … And this is normal, such a design on the Lancer IX. Again, some savings the manufacturer on the little things. No, it is clear that according to the rules in the fog it is enough to designate the rear left dimension of the car … But, if there is a second fog lamp, then it must shine. There must be symmetry!
I draw your attention to the fact that the right PTF on the Lancer IX is not a cataphyte, not a dummy and not a snag, as many believe. It is a full-fledged PTF, with a reflector inside, only with a sealed place under the bulb holder.
On the forums there are a lot of messages on this topic. Having collected the necessary information, I decided to connect the second fog lamp. Naturally, for this I will use only original spare parts. Here is my life’s position. I love order and symmetry …
To implement the plan it was necessary to buy some missing items. I ordered everything I needed and a week later I received my order.
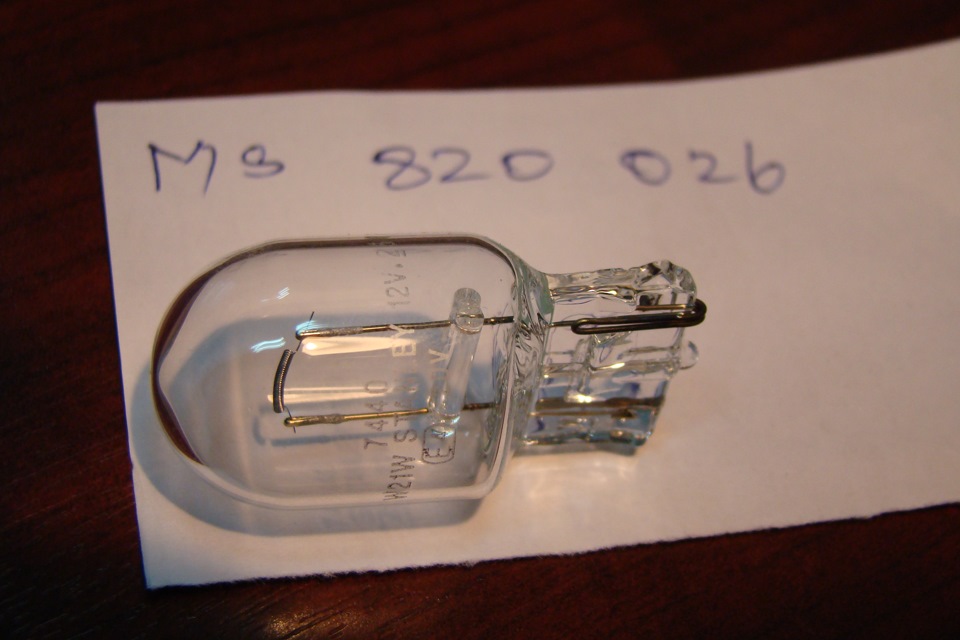
Bulb single-contact, beszvolnaya 12v 21w lantern rear fog — o n MS820026.
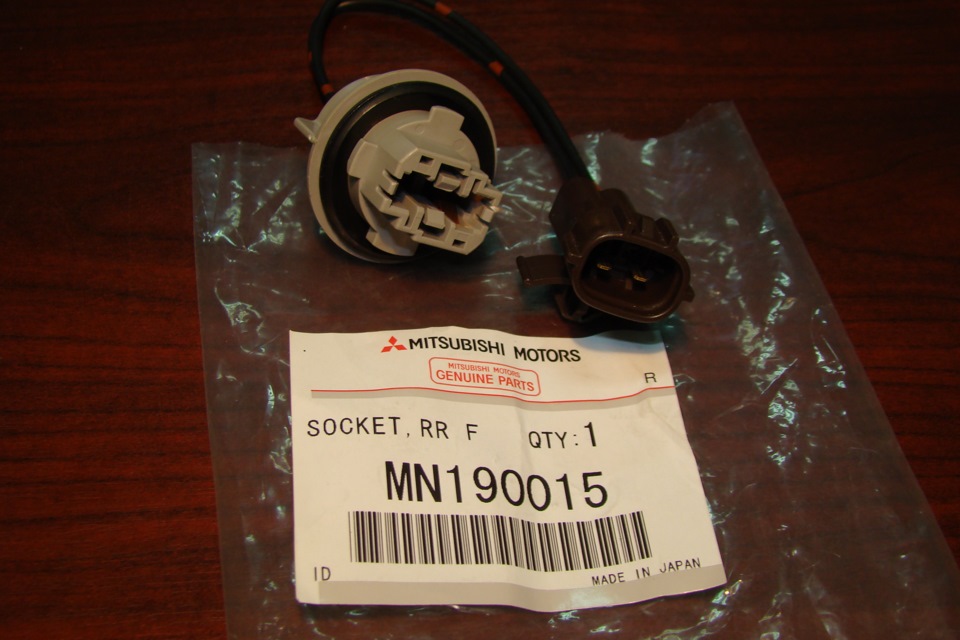
Lamp holder — o n MN190015.
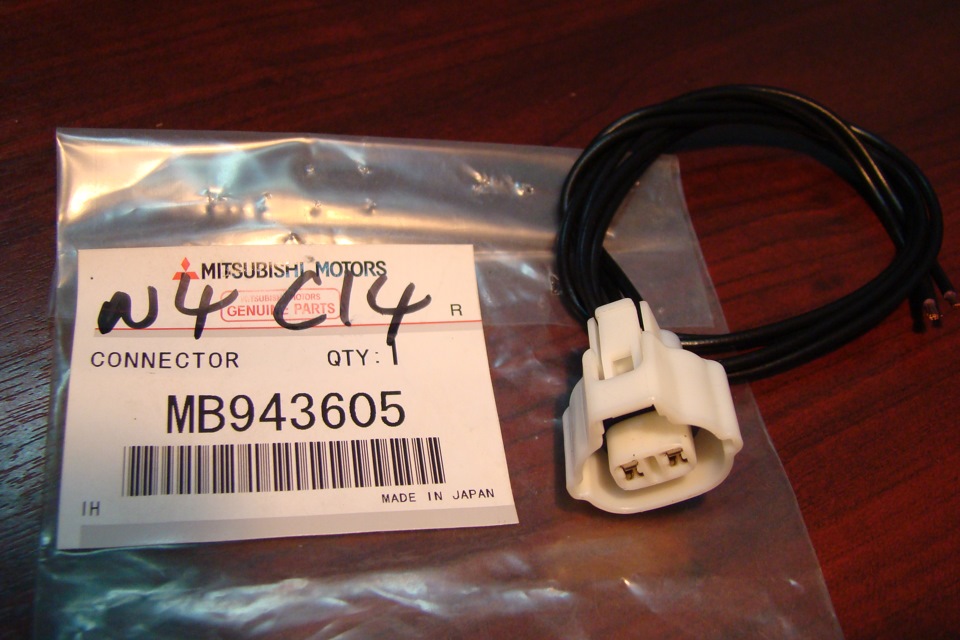
Wiring connector — o n MB943605
Then there was the choice … Given the nuances of the design, which promised some difficulty with the removal of the rear PTF — decide whether to remove the bumper or not to take off? He stopped at the second — dismantle the rear PTF without removing the bumper. And it turned out to be simpler, and accordingly the right decision.
Let’s get to work. Under the bumper we see the following:
On the left fog lamp there is a cartridge, connector, wiring.
The right fog lamp is not connected. The place of the cartridge is simply a plastic cap.
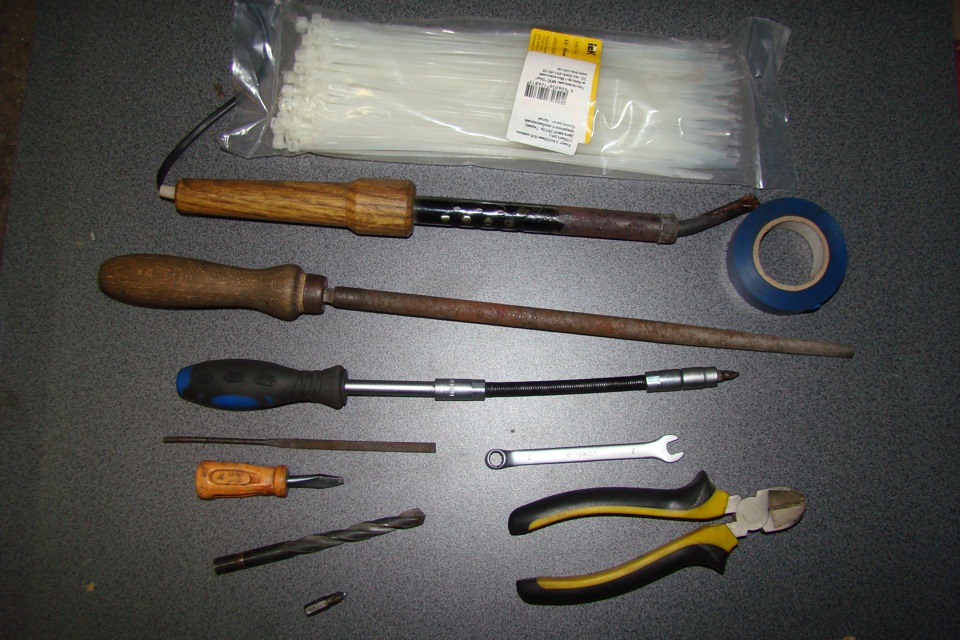
Used the following tools: a screwdriver short straight, a cross-shaped screwdriver attachment, a key for 7, a "flexible" screwdriver of a set of keys, an insulating tape, a soldering iron, side cutters, a 12 mm drill, a round file, a nail file, nylon ties.
To remove the fog lamp, it is necessary to get to the inside of the bumper from the inside of the bumper. Next, unscrew the 2 screws securing the flashlight (this process is most uncomfortable and because of it many dismantle the bumper) and remove the frame. The lantern is simply pushed out. A similar operation is performed with the second lamp.
We remove both lamps. The left one is needed for the sample: it’s easier to navigate with it when we cut out the place for the cartridge in the right lantern.
After dismantling, we wash off the dirt and dry it. Then we remove the dimensions and mark the center for drilling.
On the removed lanterns it is possible to see more clearly that the lanterns are "mirror" identical. Differ only by a plug.
When drilling, I used a 12 mm diameter drill. Next, to the desired diameter manually adjusted by a round file. The grooves under the ears of the cartridge formed a flat nadir. The main thing to remember is the proverb about how many times you need to measure before cutting. The price of error is great. Because the business did not move as fast as the Titanic sailed to New York.
Done! The geometry is observed. The chips, which got into the lantern, are first washed with water, and after drying the lantern we blow out the compressor.
The most pleasant is the build process!
We put the bulb in the socket.
The connector snaps into the bracket on the body. Just like on the left lantern.
Rubber ring on the cartridge prevents moisture from entering the lantern.
The cartridge is put in place, the connector with the wiring snaps into the mating part on the body.
We have ready-to-install lights.
After installation, the right lantern was powered from the left. The connections of the wires were soldered (the twisting is unreliable in this place), then carefully insulated.
Installation was quick and without any difficulties.
Because the lanterns themselves, the reflectors in them and the bulbs are absolutely identical — the left and right lanterns shine equally brightly and the same color. There are no differences.
Затрудняетесь с подбором задней фары? Нужны и другие детали?
Позвоните нам по тел. +7 (495) 722 78 54 и наши менеджеры постараються ответить на все Ваши вопросы.
Вы можете сделать заказ самостоятельно, нажав у интересующей Вас запчасти кнопку купить.
Весь товар который можно положить в корзину, в наличии.
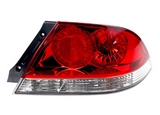
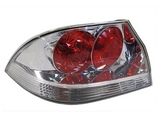
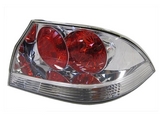
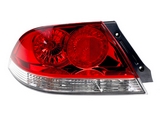
Задние фонари для МИТСУБИСИ ЛАНСЕР: 2004, 2005, 2006, 2007 годов выпуска.
Mitsubishi Lancer 9 (2004-2007)


Оригинальный номер: MN161196
Производитель: TYC

Оригинальный номер: MN161198
Производитель: TYC

Оригинальный номер: MN161944
Производитель: TYC

Оригинальный номер: MN161195
Производитель: TYC

Оригинальный номер: MN161197
Производитель: TYC

Оригинальный номер: MN161943
Производитель: TYC


Оригинальный номер: MN161195
Производитель: DEPO

Оригинальный номер: MN161196
Производитель: DEPO


Оригинальный номер: MN190013
Производитель: POLCAR
Оригинальный номер: MN186328/MN161677
Производитель: POLCAR

Оригинальный номер: MN161195
Производитель: DEPO
Оригинальный номер: MN161196
Производитель: DEPO

Оригинальный номер: MN161197
Производитель: DEPO

Оригинальный номер: MN161198
Производитель: DEPO

Оригинальный номер: MN161197
Производитель:
Оригинальный номер: MN161198
Производитель:
Оригинальный номер: MN161195
Производитель:

Оригинальный номер: MN161196
Производитель:


Оригинальный номер: MN161195
Производитель: NORDEN

Оригинальный номер: MN161196
Производитель: NORDEN

Оригинальный номер: MN161677
Производитель: NORDEN

Оригинальный номер: MN186328
Производитель: NORDEN